Prior to the S4, the Esprit had nice, European-sounding air horns that were in character with the car. The horns didn't always age well leading to the dreaded disease I call Sad Cow Horn. So in late 1993 Lotus replaced the horns with electric units. The problem is they make the Esprit sound like a Buick. So many owners have decided to replace the horns on their newer cars with the proper air horn sound.
Procedure
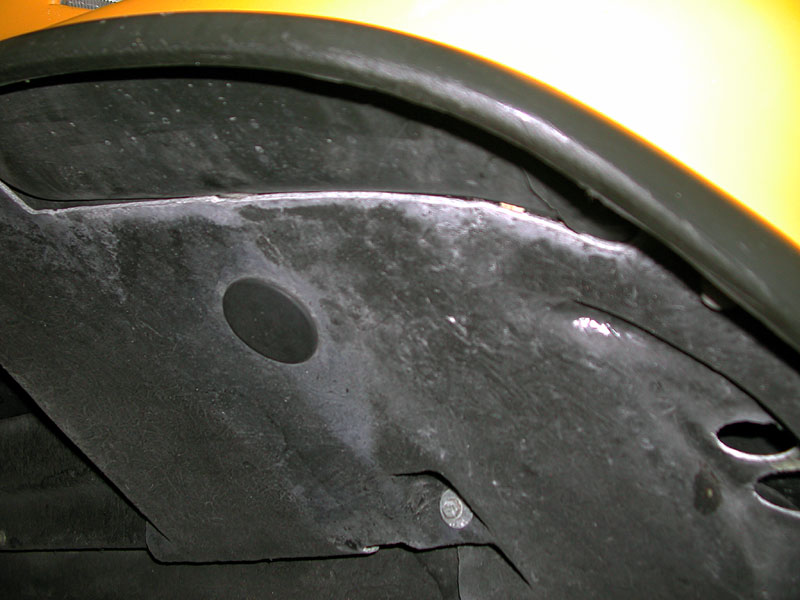
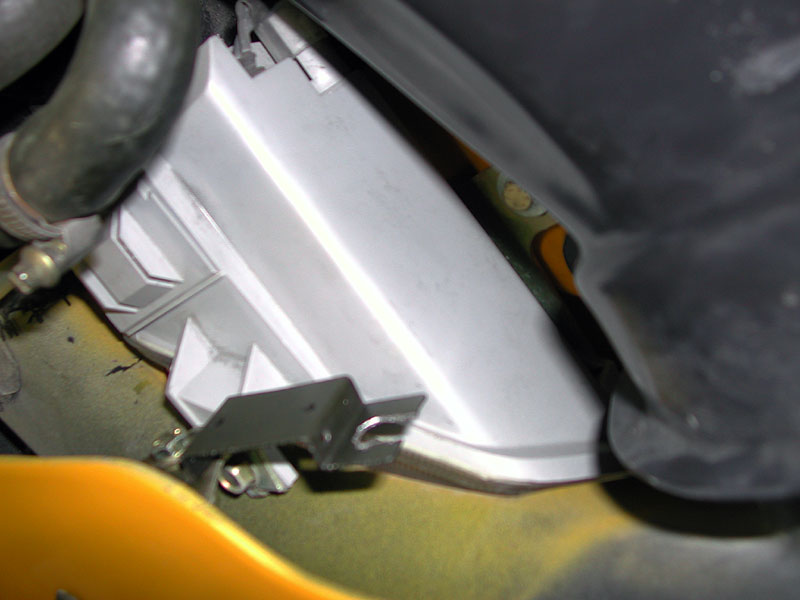
| 1 | The electric horns are located in the front left corner of the bumper. To access this are, you must go in from underneath the car. If you have a post-92MY car, you will need to remove the lip spoiler. Then you will need to remove the plastic under panel. |
 |
| 2 | In the front relay compartment is a horn relay. Your relay location may vary depending on the Esprit model. Check the relay location in your Owner's Manual or Service Notes. I recommend you remove the relay while working on the horn circuit to avoid any electrical problems that may occur by accidentally shorting the wires. This also relieves you from having to disconnect the battery which is a bigger hassle. | |
| 3 | Here you can see the electric horns in place. You need to remove 2 electrical connections from each horn and the then remove the bracket holding the horns in place. |
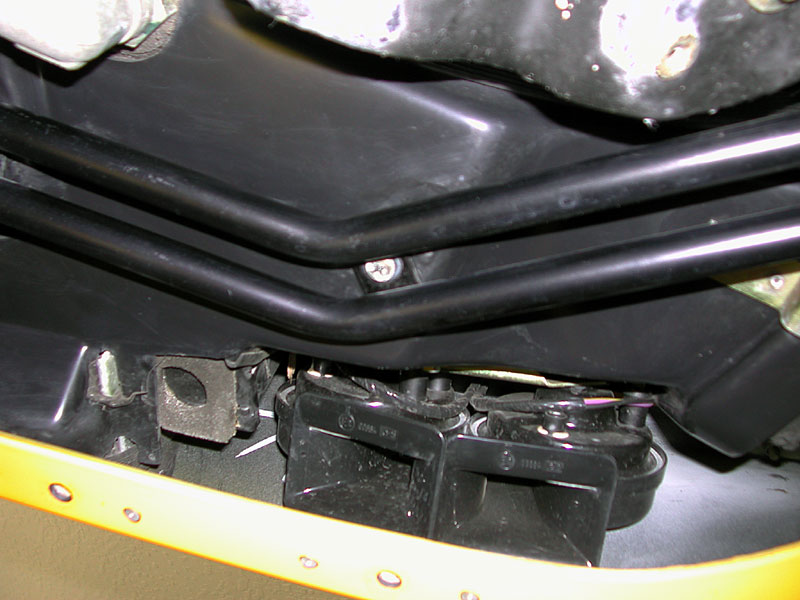 |
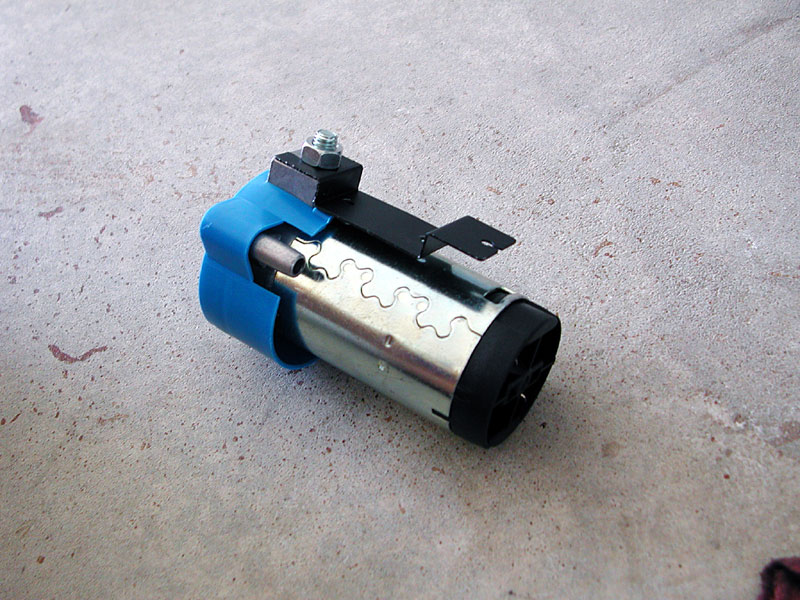
| 4 | In earlier cars fitted with air horns the compressor was located in the front compartment next to the left headlamp pod. In my installation I chose to mount the compressor under the car simply because I didn't see a convenient way to pass the short air hose to the compartment down below without drilling a new hole into the fiberglass. | |
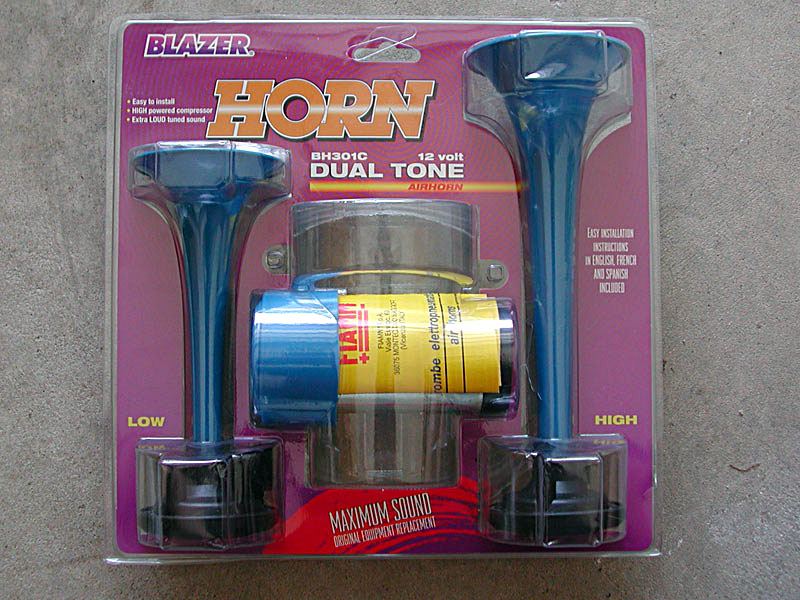
| 5 | Here's a picture of the air horn kit. These are sold in many auto parts stores. I bought this particular kit in AutoZone. Although sold under many names, most kits seem to be manufactured by Fiam in Italy. The compressor and trumpets in the original Esprit air horns were also made by Fiam. |
 |
| 6 | I toyed around with a location for the air compressor and finally decided to use one of the mounting bolts for the left front fog lamp simply out of convenience. It had enough clearance and was close enough to the trumpet compartment for the plastic tubing to reach. | |
| 7 | Here's a shot of the simple mounting bracket I made for the compressor. I just used a metal piece I had laying around the house. Improvise! |
 |
| 8 | I decided that I could mount the compressor behind the driver side fog lamp. Here's a shot of the bracket sans compressor in the location where it will be mounted. |
 |
| 9 | The original setup had a pair of electrical connectors per horn. Only one pair of electrical connections is needed to drive the compressor, so I simply taped off the other pair with insulating tape. I also didn't need to use the relay supplied with the kit, since the car already has a horn relay. | |
| 10 | Here's a picture of an extension wiring harness I made to allow the electrical connections to reach my new compressor location. |
 |
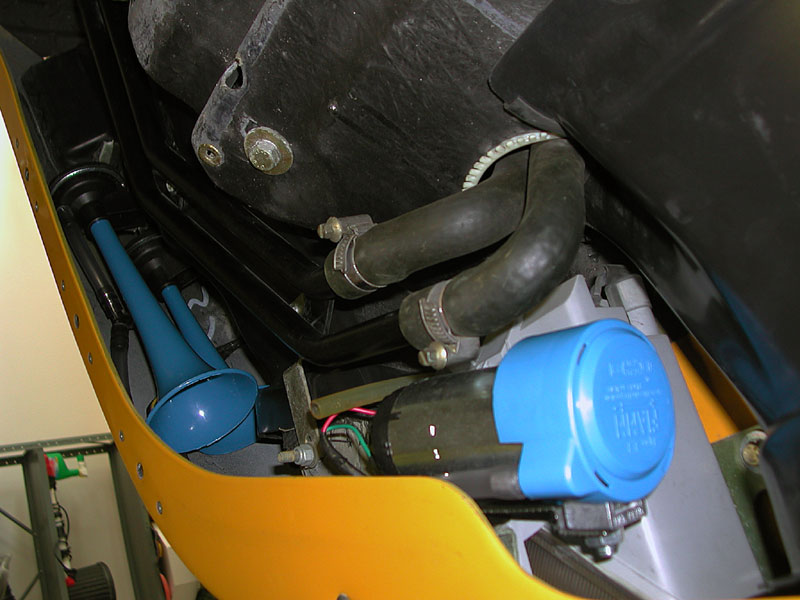
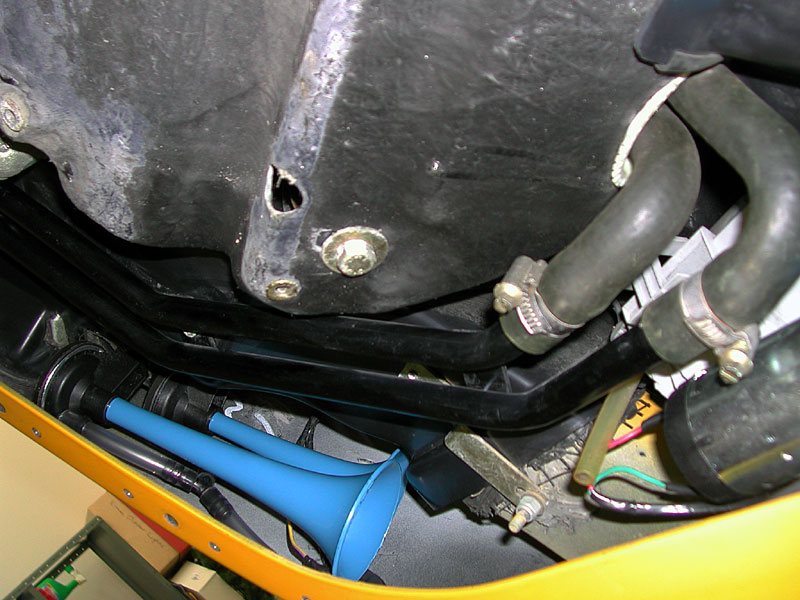
| 11 | Here's the compressor mounted in it's new location. |
 |
| 12 | I was actually able to reuse the electric horn mounting bracket to mount the trumpets. It was a tight fit, but it worked. Again, improvise! |
 |
| Replace the relay and test your horns to make sure they work. Then replace the covers, lip spoilers and you're done. | ||